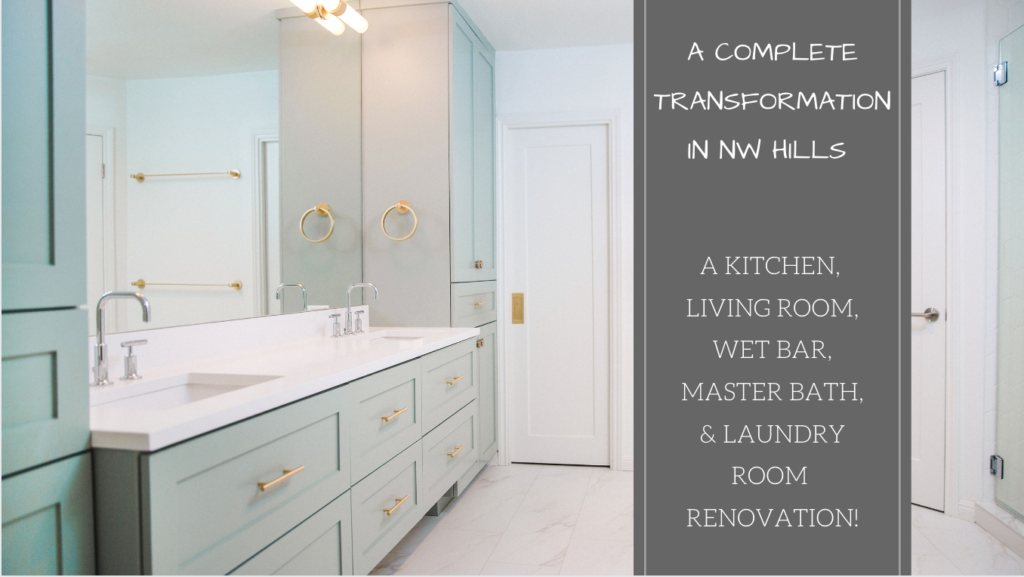
 Northwest Hills is one of Austin’s most sought after neighborhoods—its schools, its convenient location to Downtown, and its rolling hills with developed trees and landscaping all contribute to its popularity. The only problem with this particular house, built in 1977, was that it was in need of some major updating!
Our clients contacted designer Christian Ales to draw up the design plans, and Skelly Home got to work on the construction of this project. The result, as you can see from the before and afters, is a fresh, clean palette and an updated look that will make this house sought after for many more years to come!
Many rooms in this house received a renovation, including the living room, wet bar, kitchen, master bathroom, and laundry room. Take a look at the before and afters and see what a big difference a renovation can make!
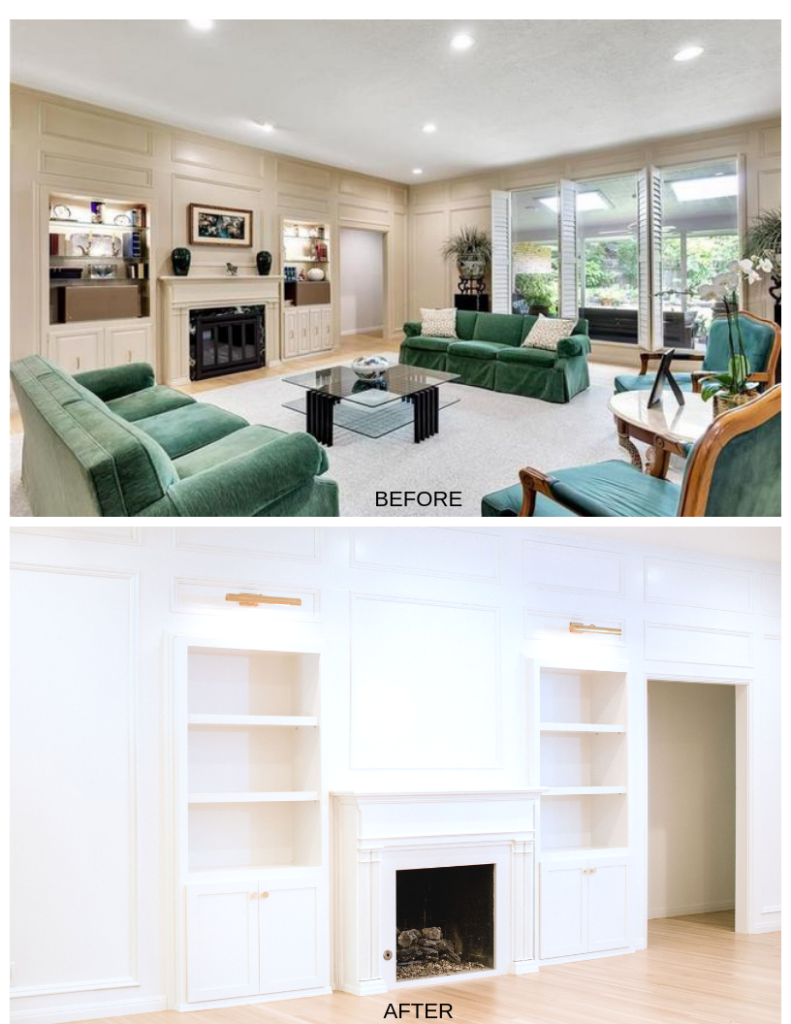 The mantle served as a feature focal point in the living room, per Christen Ales’ vision. She wanted to continue showing it off and enjoying it, but also ensure its practicality for the homeowners. The current fireplace tile was demoed out and replaced. New wood shelves were installed to replace the existing glass shelving. Electrically, outlets were added for the TV and scone lights were added overhead to make the built-ins appear elongated.
The full interior of the home was repainted, including all the walls, trim and doors. For the flooring, we demoed out the current carpeting in the house & installed a new birch toned carpet + carpet pad. The hardwood flooring was kept the same but was sanded down, stained, and then sealed with a poly finishing coat.
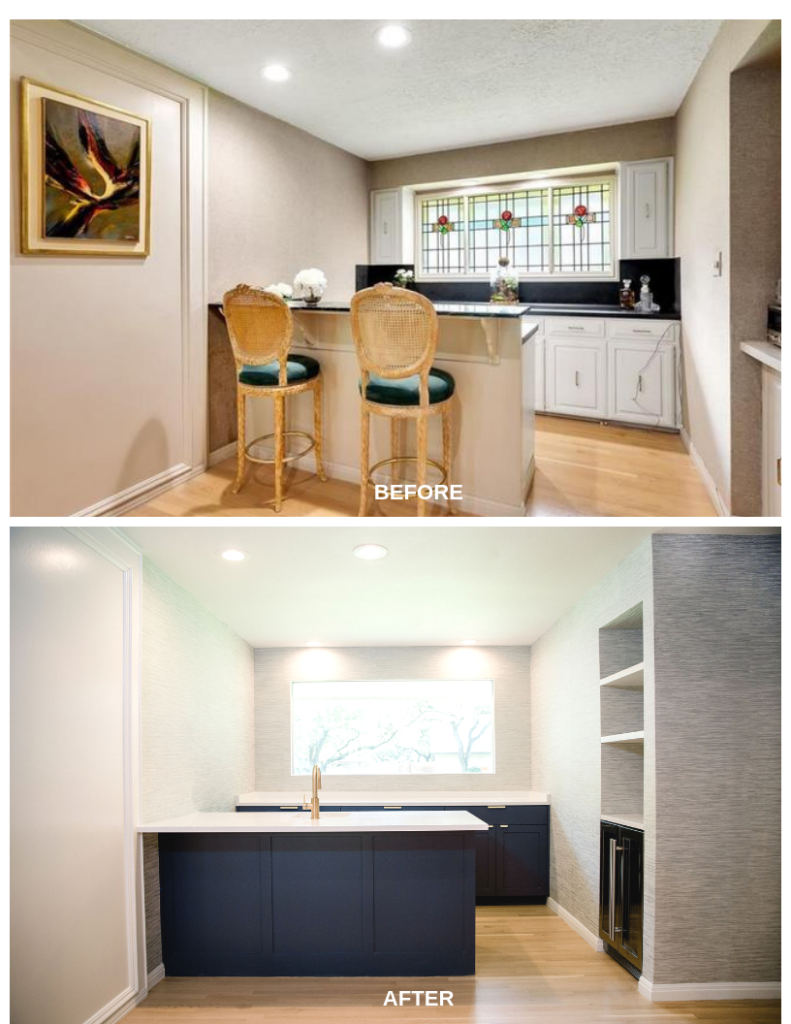 My favorite part of this renovation was probably the smallest renovated area – the wet bar! New cabinetry doors and drawers for the lower half and the uppers received custom floating shelving, giving it a night light appearance. A wine fridge and ice maker machine was installed along with decorative light fixtures. To finish off the detailing, Silestone countertops and backsplash were added.
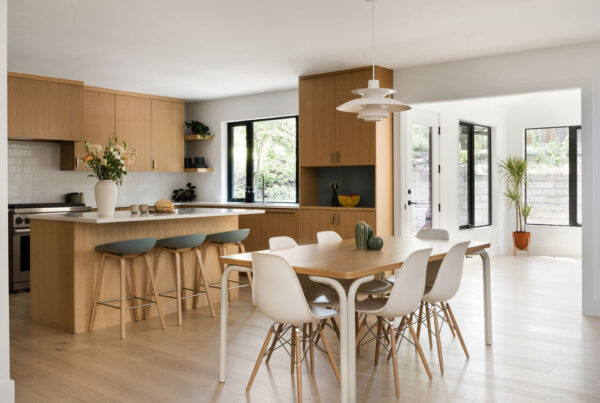
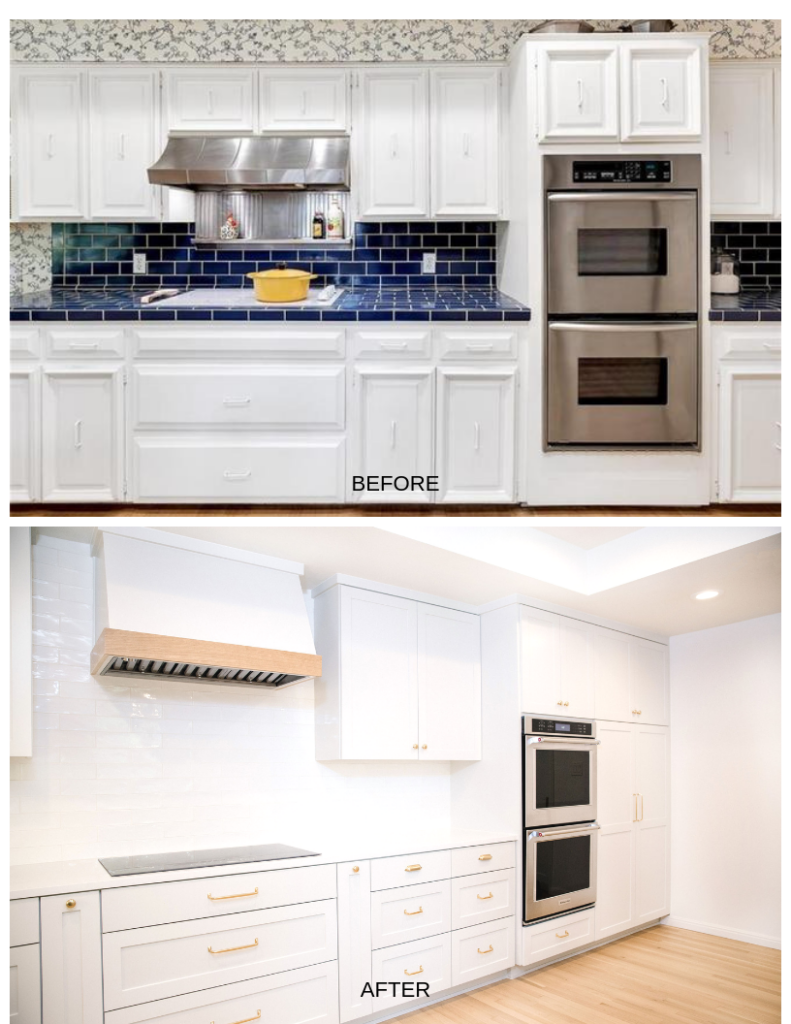
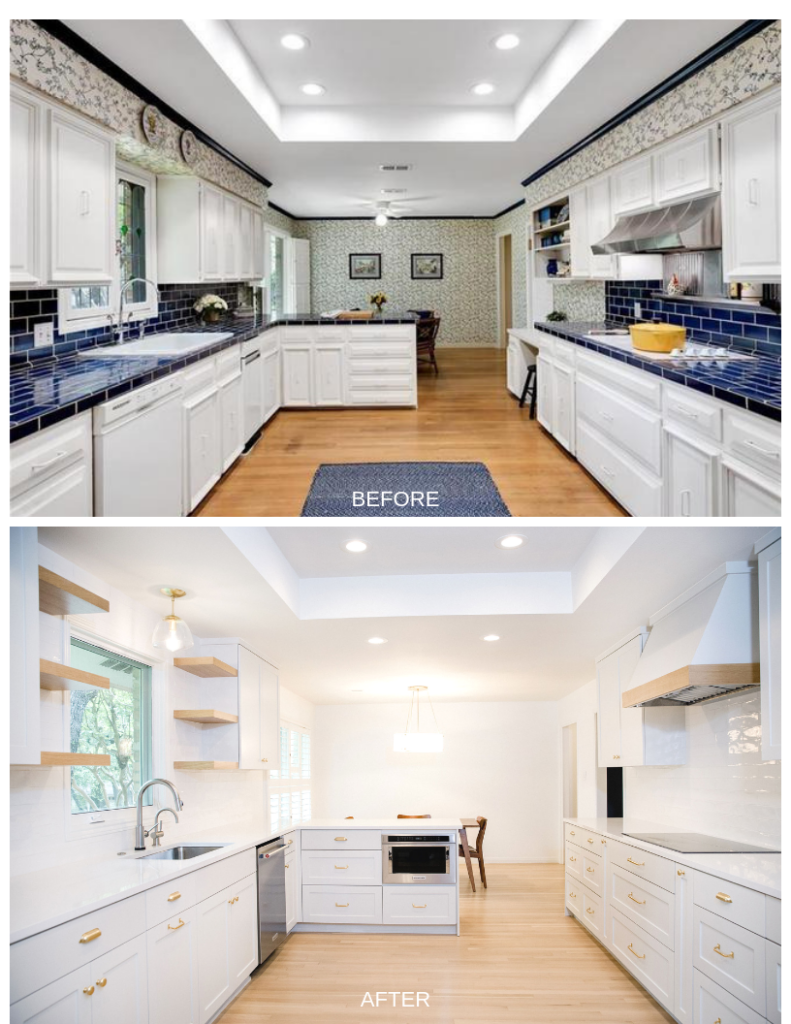
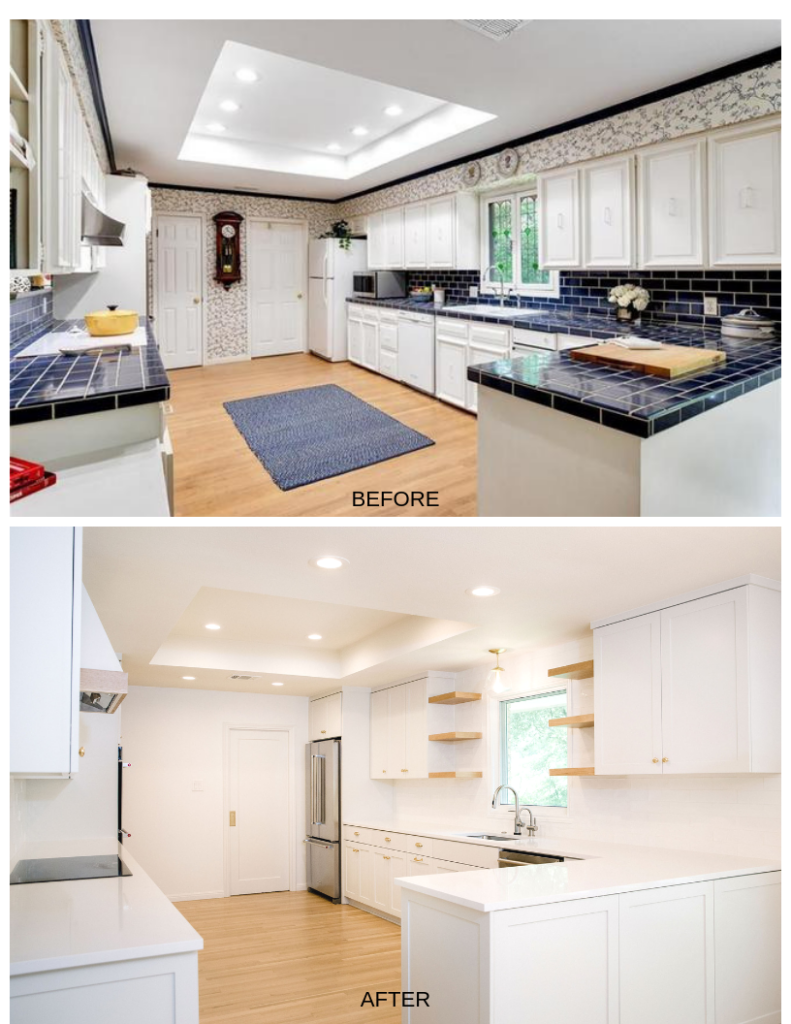 In this project, the entire kitchen was demoed out. New appliances were installed, including a new sink, refrigerator, and dishwasher. Wiring was done for decorative lighting over the peninsula. The existing can lights were re-spaced after the drywall was installed. Speaking of dry walls, all new drywall was fitted after removing fur downs and the entire ceiling. The ceiling was then raised to open up the room and bring in more light to the room.
The entire cabinetry was replaced with new, storage optimizing cabinetry. This included ceiling reaching cabinets, a trash pull out and pull out shelving. White oak detailing was used on the shelving as well as around the vent hood. Silestone countertops were then added on top of the gold accented cabinetry. The finishing touch of this room was the 18’’ backsplash tiling that reaches around the vent hood and up to the ceiling. The same tiling was then added to the sink area surrounding the window.
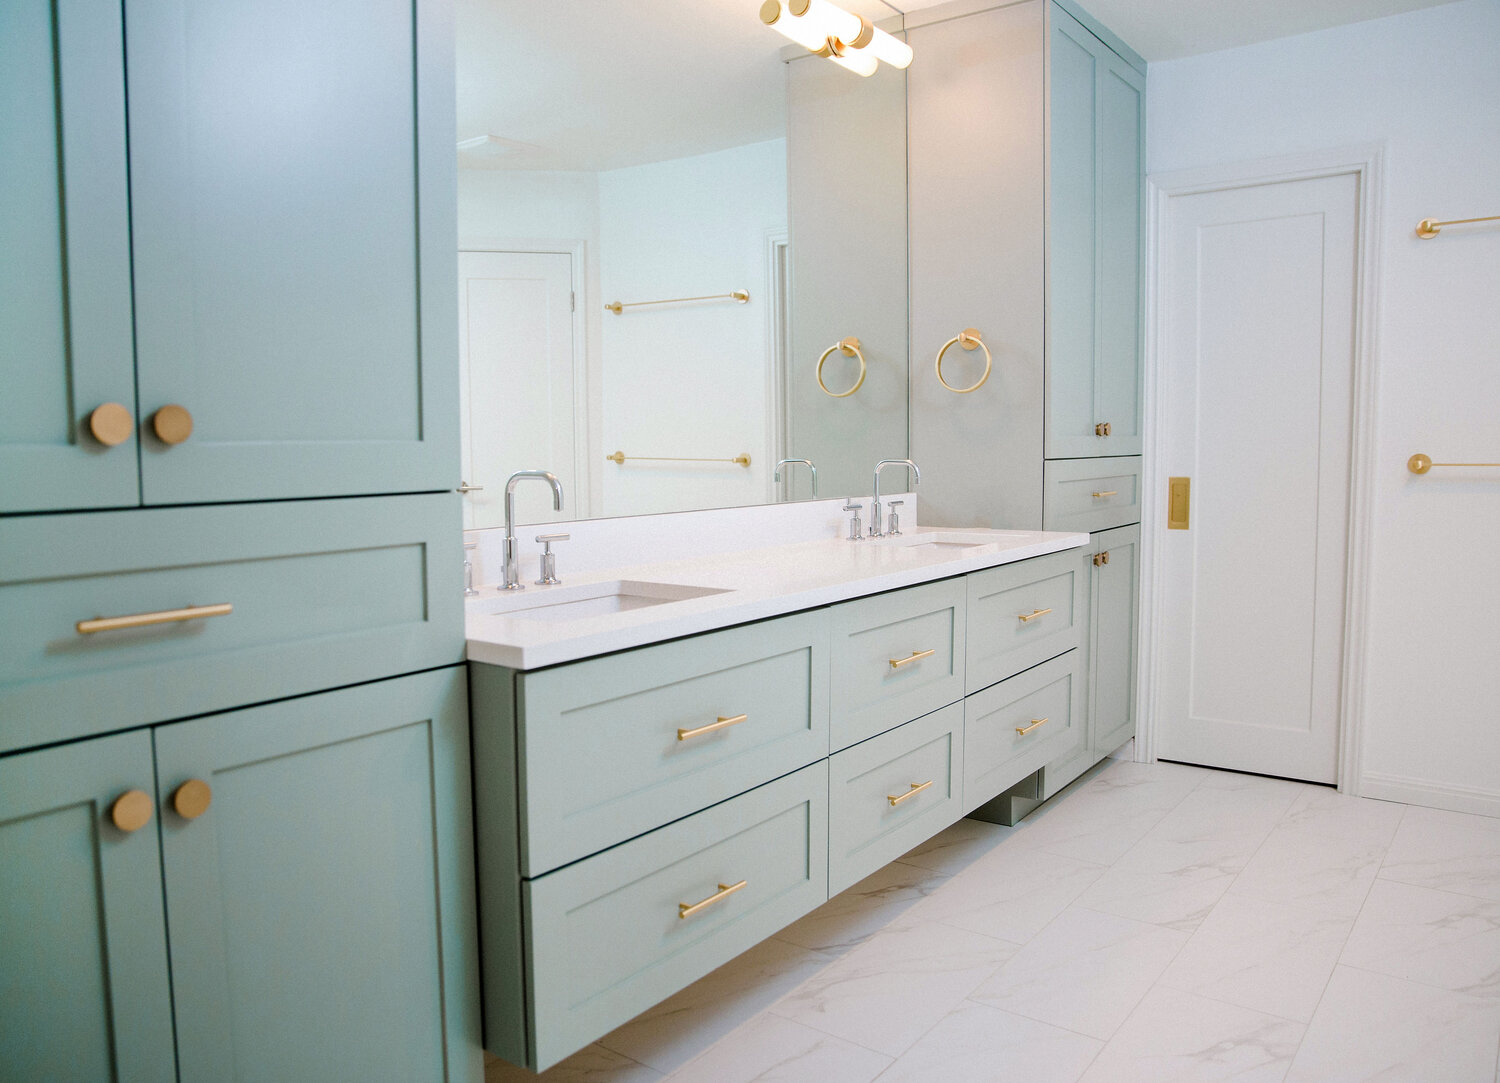
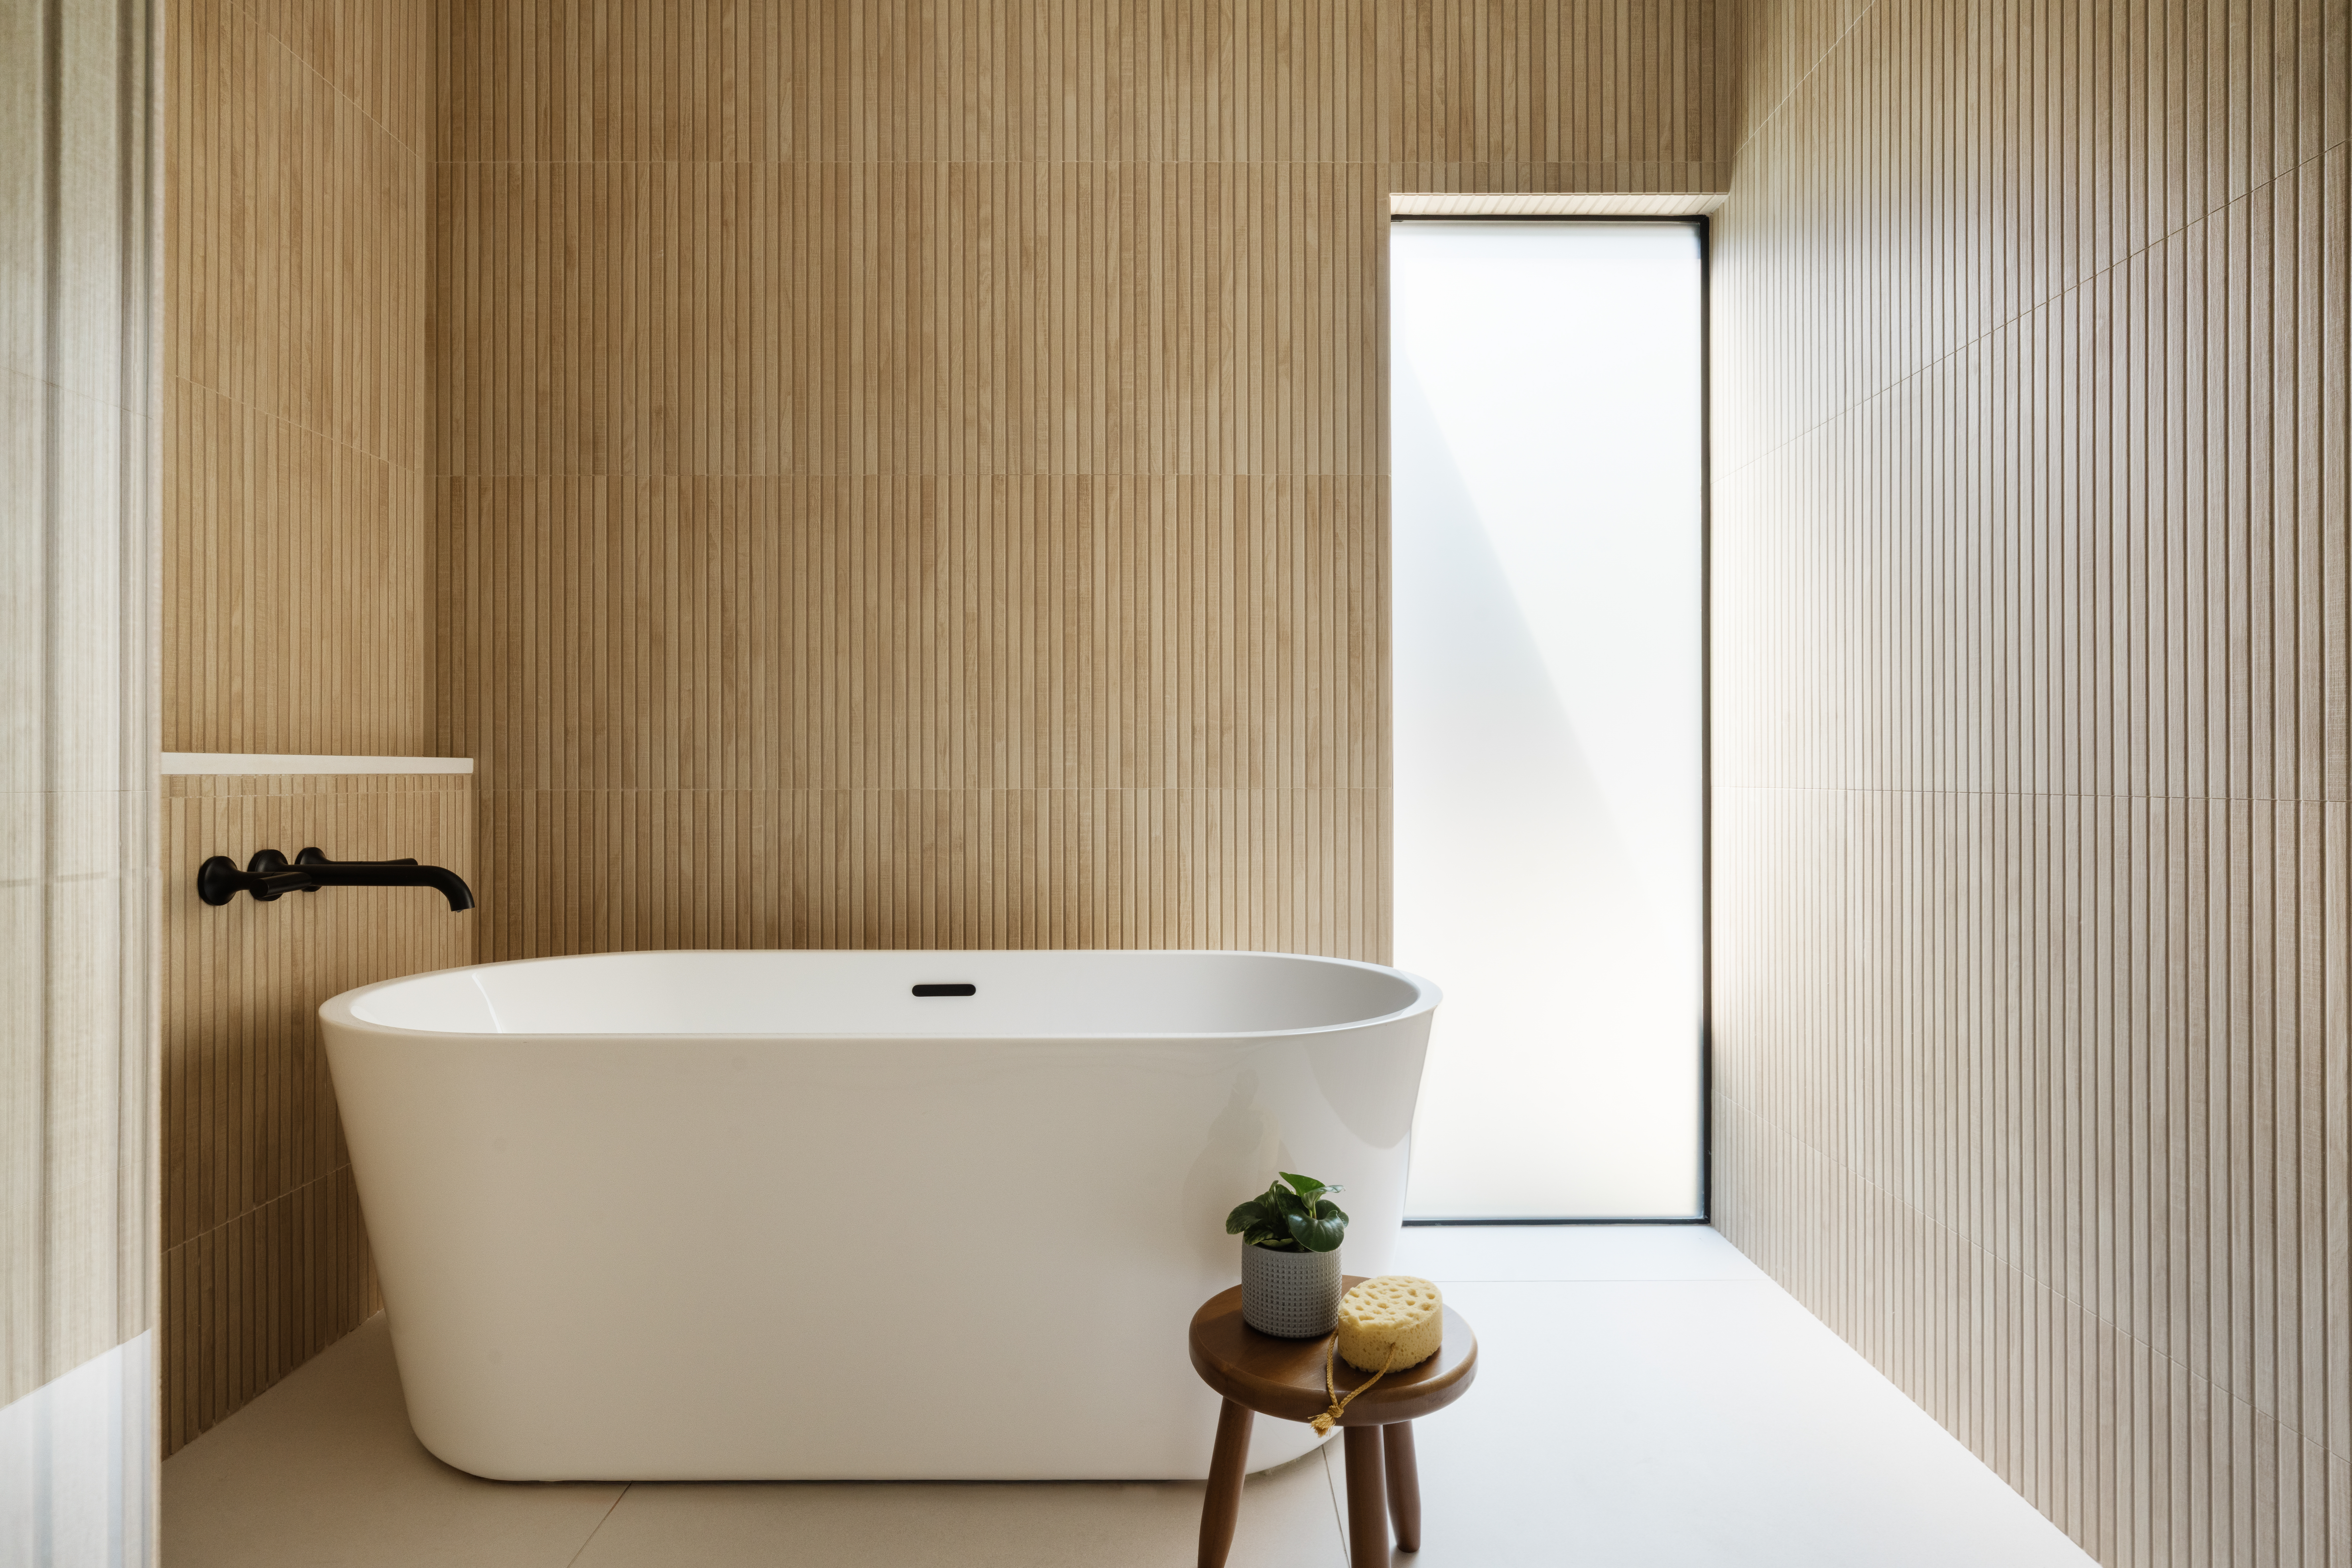
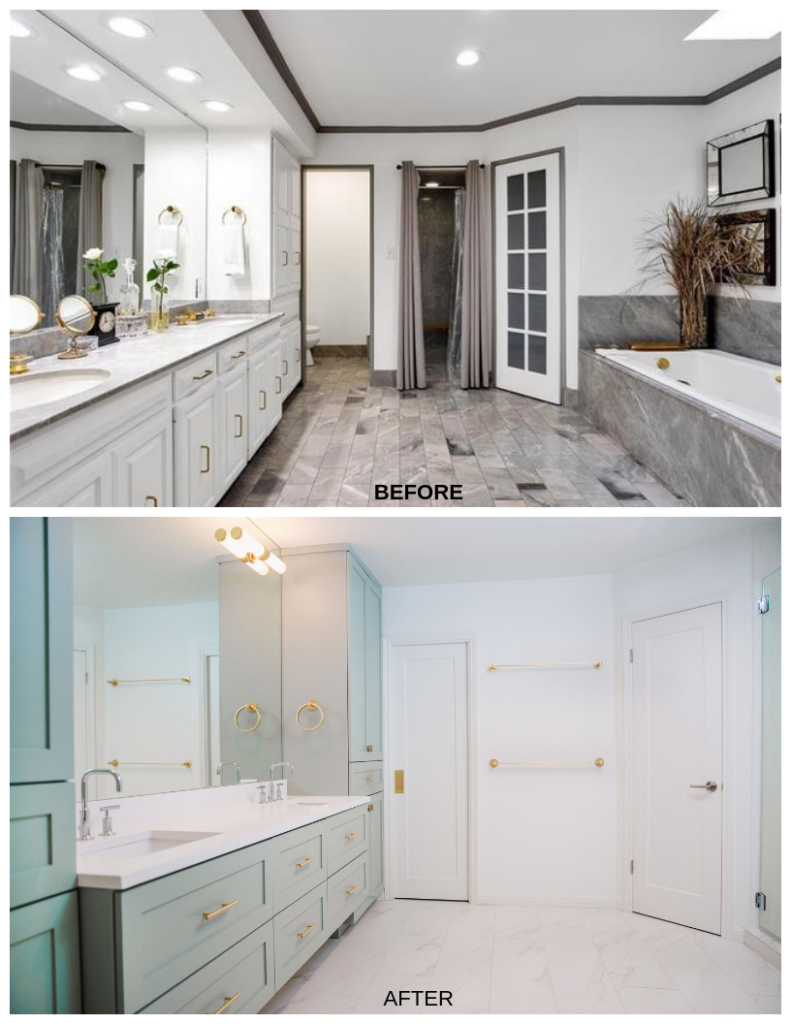
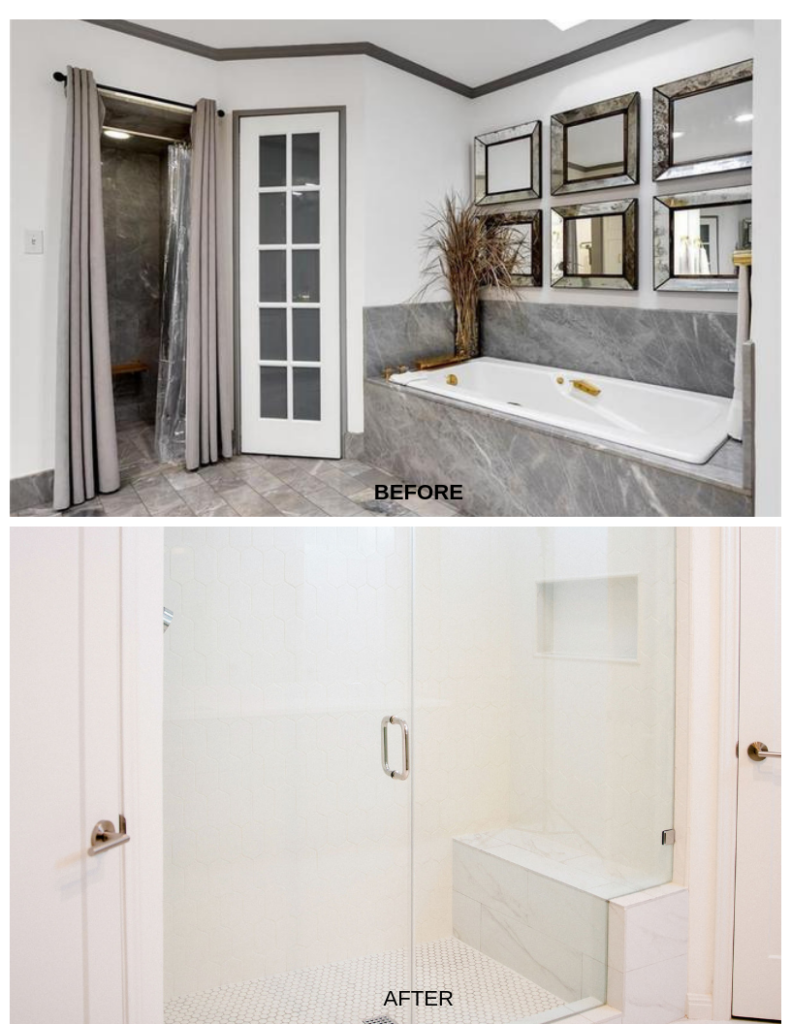
 Gutting out the master bathroom was our next focus. We said goodbye to all the doors, vanities and the shower area, which would later become part of the closet. A pocket door was installed for the toilet room. New closet doors and entryway doors were added as well. A shaker style double vanity set was in the works, topped off with quartz Fiji countertops along with matching cabinets over the toilet.
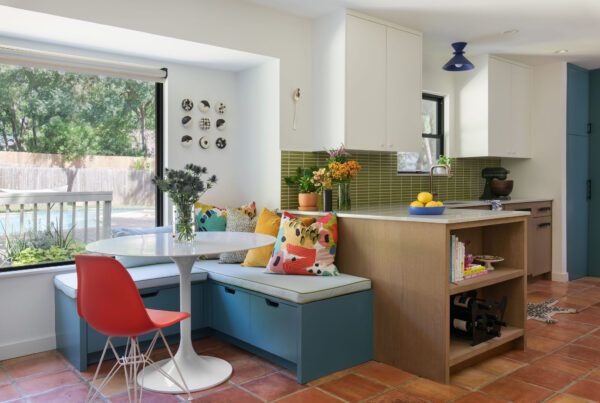
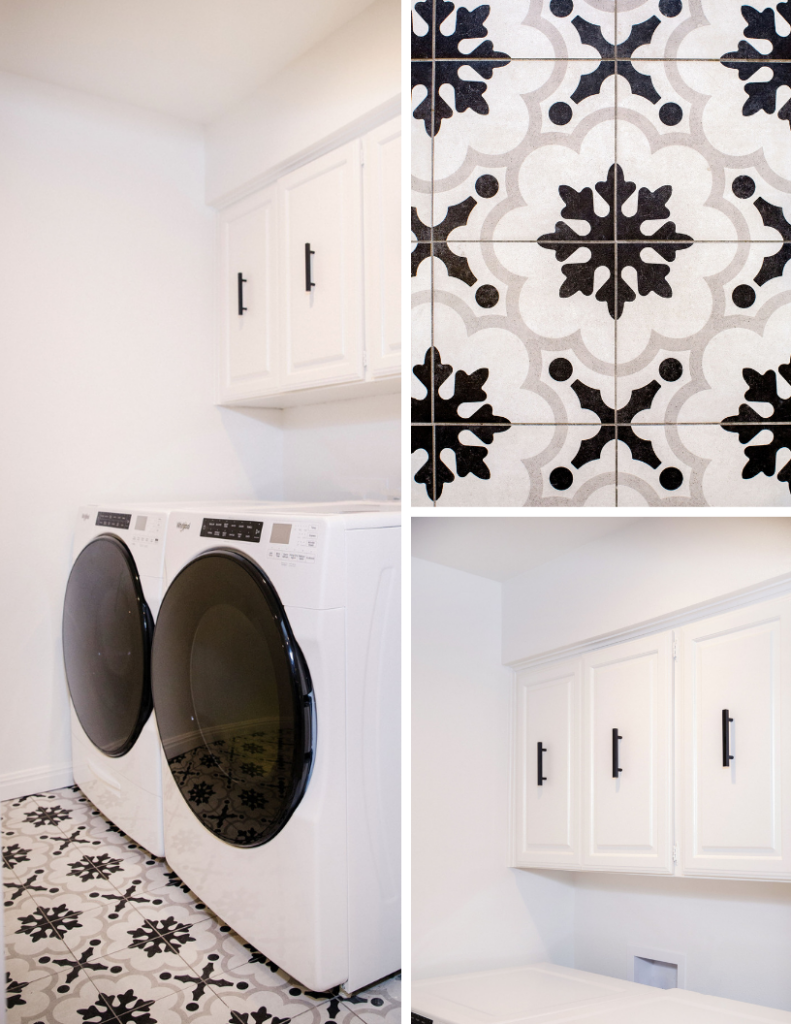
 And finally, the laundry room. Although the renovation to the laundry room was mainly cosmetic, many changes were made to maximize the space in the laundry room. In order to do this, the framing had to be reworked, and a pocket door was installed. Two new recessed can lights were wired to draw attention to the repainted cabinetry and accented floor tiling.
 What about your home? Have you been remodeling your space in your head for many years? Now is a great time to turn those dreams into reality!


