

Designer: Paula Ables
Construction: Skelly Build
A whole house renovation is a special project, and this Barton Creek Canyons Home deserved two blogs to cover its spectacular transformation. If you haven’t caught Part 1, you can do so here:
Today, let’s take a look at all SIX bathroom renovations done in this house. That’s right, six bathrooms. Five inside the house and one out by the pool. Let’s kick it off with the master bath:
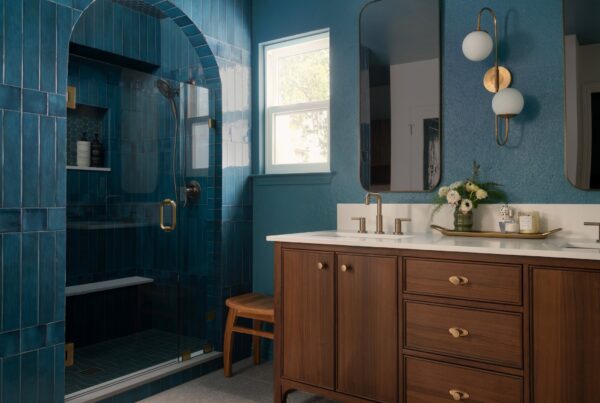
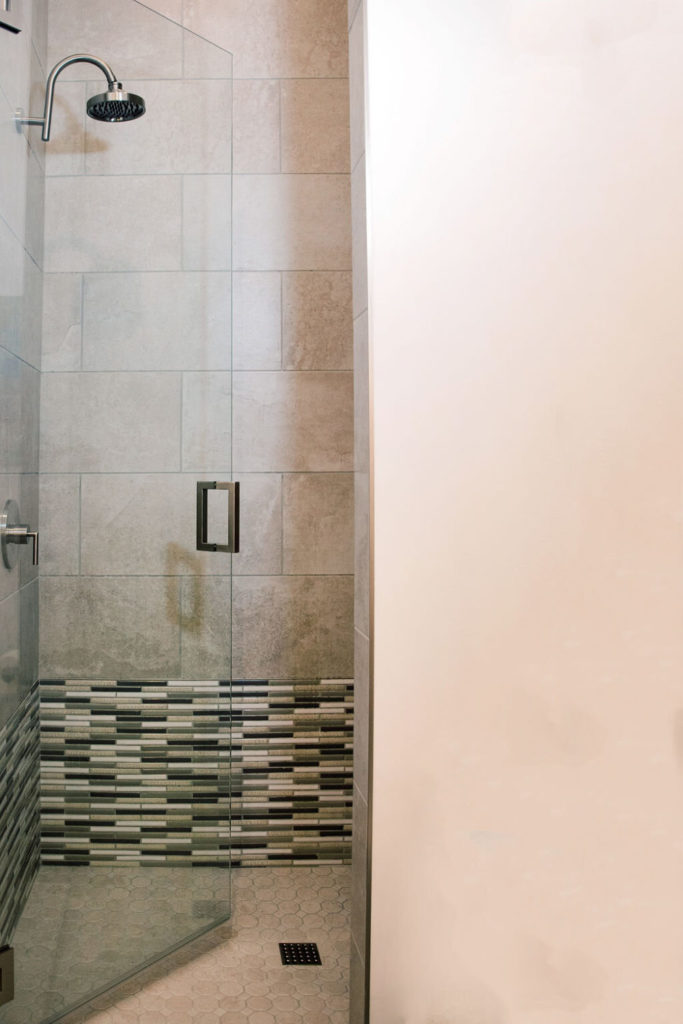
Master Bath:
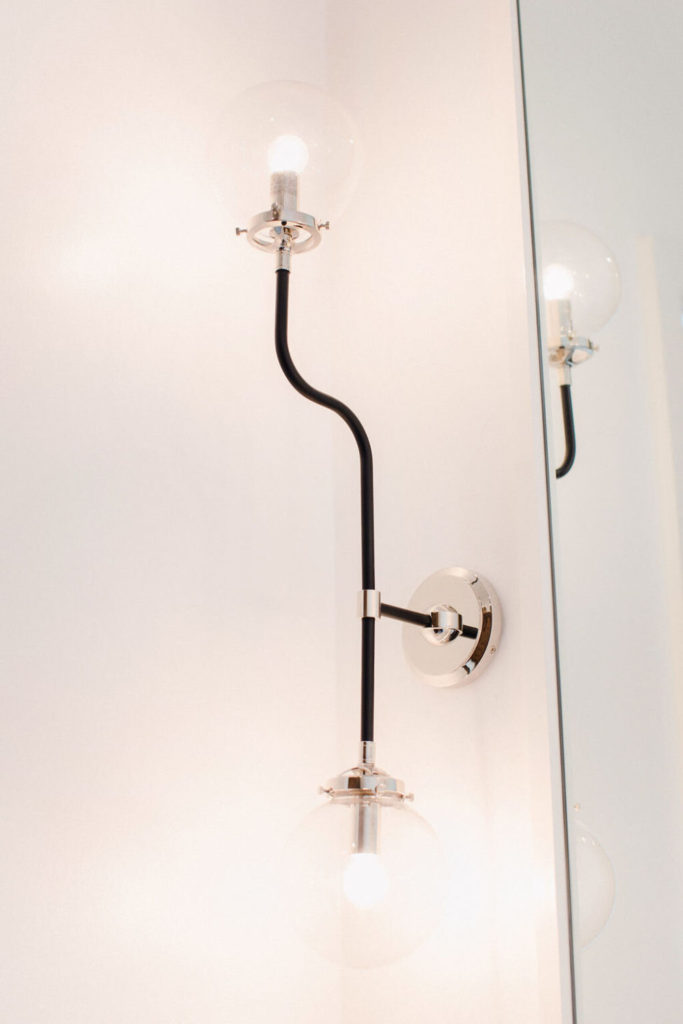
The master bathroom got a full gut. We replaced the existing cabinetry with custom-built cabinetry including a newly painted and sealed floating double vanity with shelving for hair styling tools. The same countertops used in the kitchen were also used for the master bath. We completed new framing to relocate the master bathroom door. Instead of entering directly into the middle of the master bedroom, we relocated the pocket doors to the side of the bedroom.
Electrically, we lit each focal point of the bathroom with backlighting and light fixtures. Next, we transformed the current tub area into the shower, tiled it from floor to ceiling, and also installed tile on the relocated tub wall, backsplash, and behind the shelving. Behind the tub, we replaced the old window with a ribbon window to add privacy and more natural lighting. Finally, we installed all accent hardware to finish the look off.
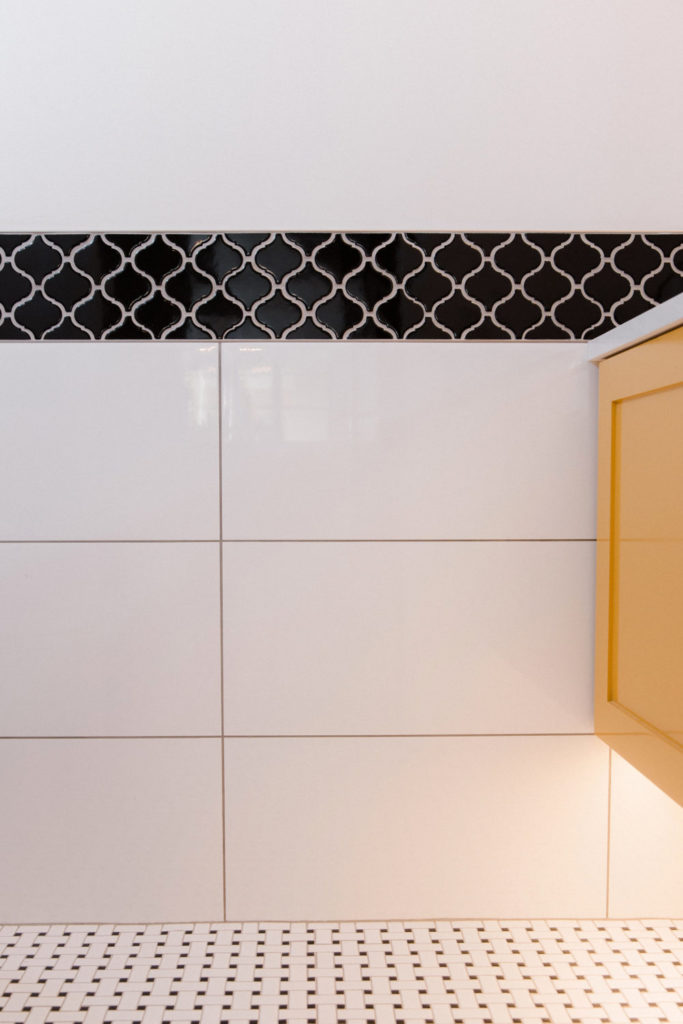
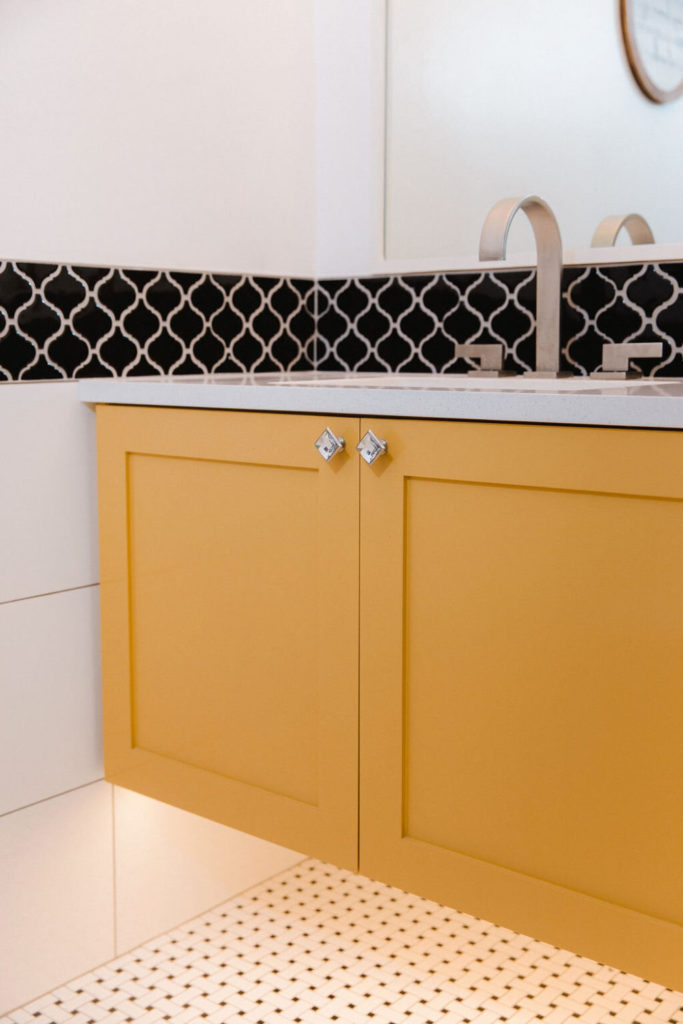
 Bath 2 | Powder Bath:
In the powder room, we demoed out the vanity and plumbing fixtures and laid the new tile. After this, we painted and installed the custom cabinetry. On top of those we added a new quartz countertop with a six-inch rising backsplash. Finally, we added a new mirror, hardware, and lighting to finish out the powder room.
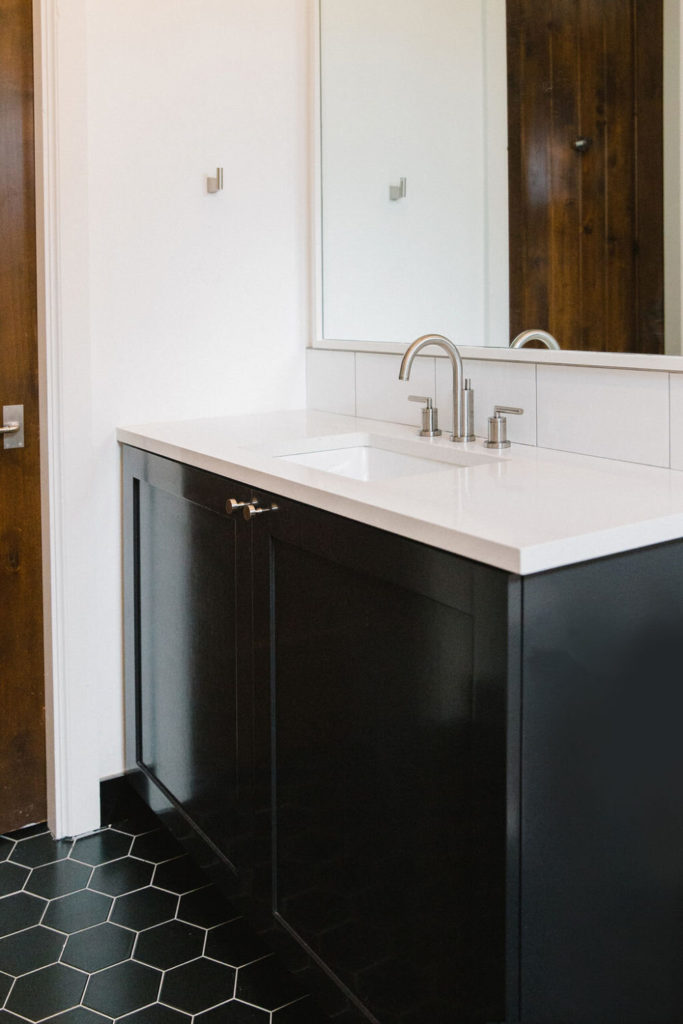
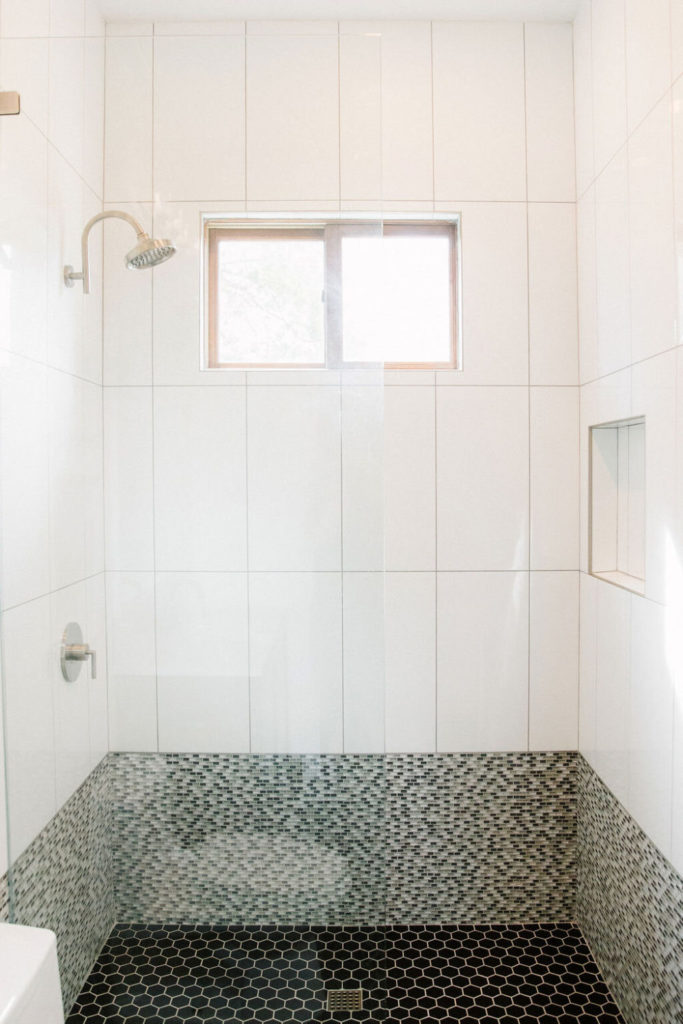
Baths 3 & 4:
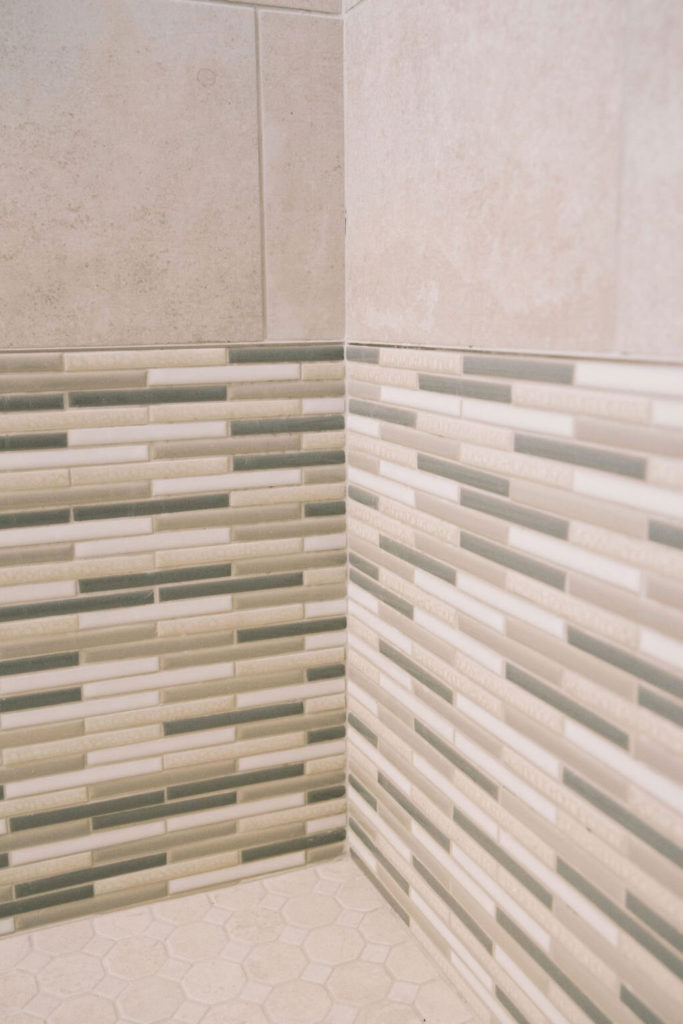
During the demo phase, we did not keep much in these baths except the toilet. For the shower areas, we installed a custom niche and three different types of tiles. First, the hexagon tile continued from the bathroom floor to the shower floor. Second, a mosaic tile runs horizontally up 3 feet of the shower walls and vertically in the second shower. Finally, we installed a white ceramic tile up to the ceiling. A single vanity was installed with a quartz countertop on top. Above the vanity we installed a six-inch backsplash consisting of the same white tile that was used in the top portion of the shower.
Bath 5 | Upstairs Bath:
The owners decided to keep the bathroom upstairs because this is where their grandchildren stay when they visit. In the fourth bathroom, we demoed the floor, doors, and cabinetry, kept he tub and tub deck, and framed a new shower niche. The designer chose hexagon tile for the floor, a white tile for the shower, and a white and black tile for the tub deck. We installed a newly painted cabinet and the same countertops from the other bathrooms again in this bathroom.
 Bath 6 | Pool Bath: In the pool bath, we demoed out all of the tiling in the room and kept the shower area layout, updating it by retiling the shower floor and walls. We installed the new faucet, fixtures, and cabinetry.
 Whew! That’s a lot of bathrooms, and each is beautiful and perfectly functional in its given space. Which one is your favorite? Let us know in the comments below! To see more bathroom and other renovations, click the link below!